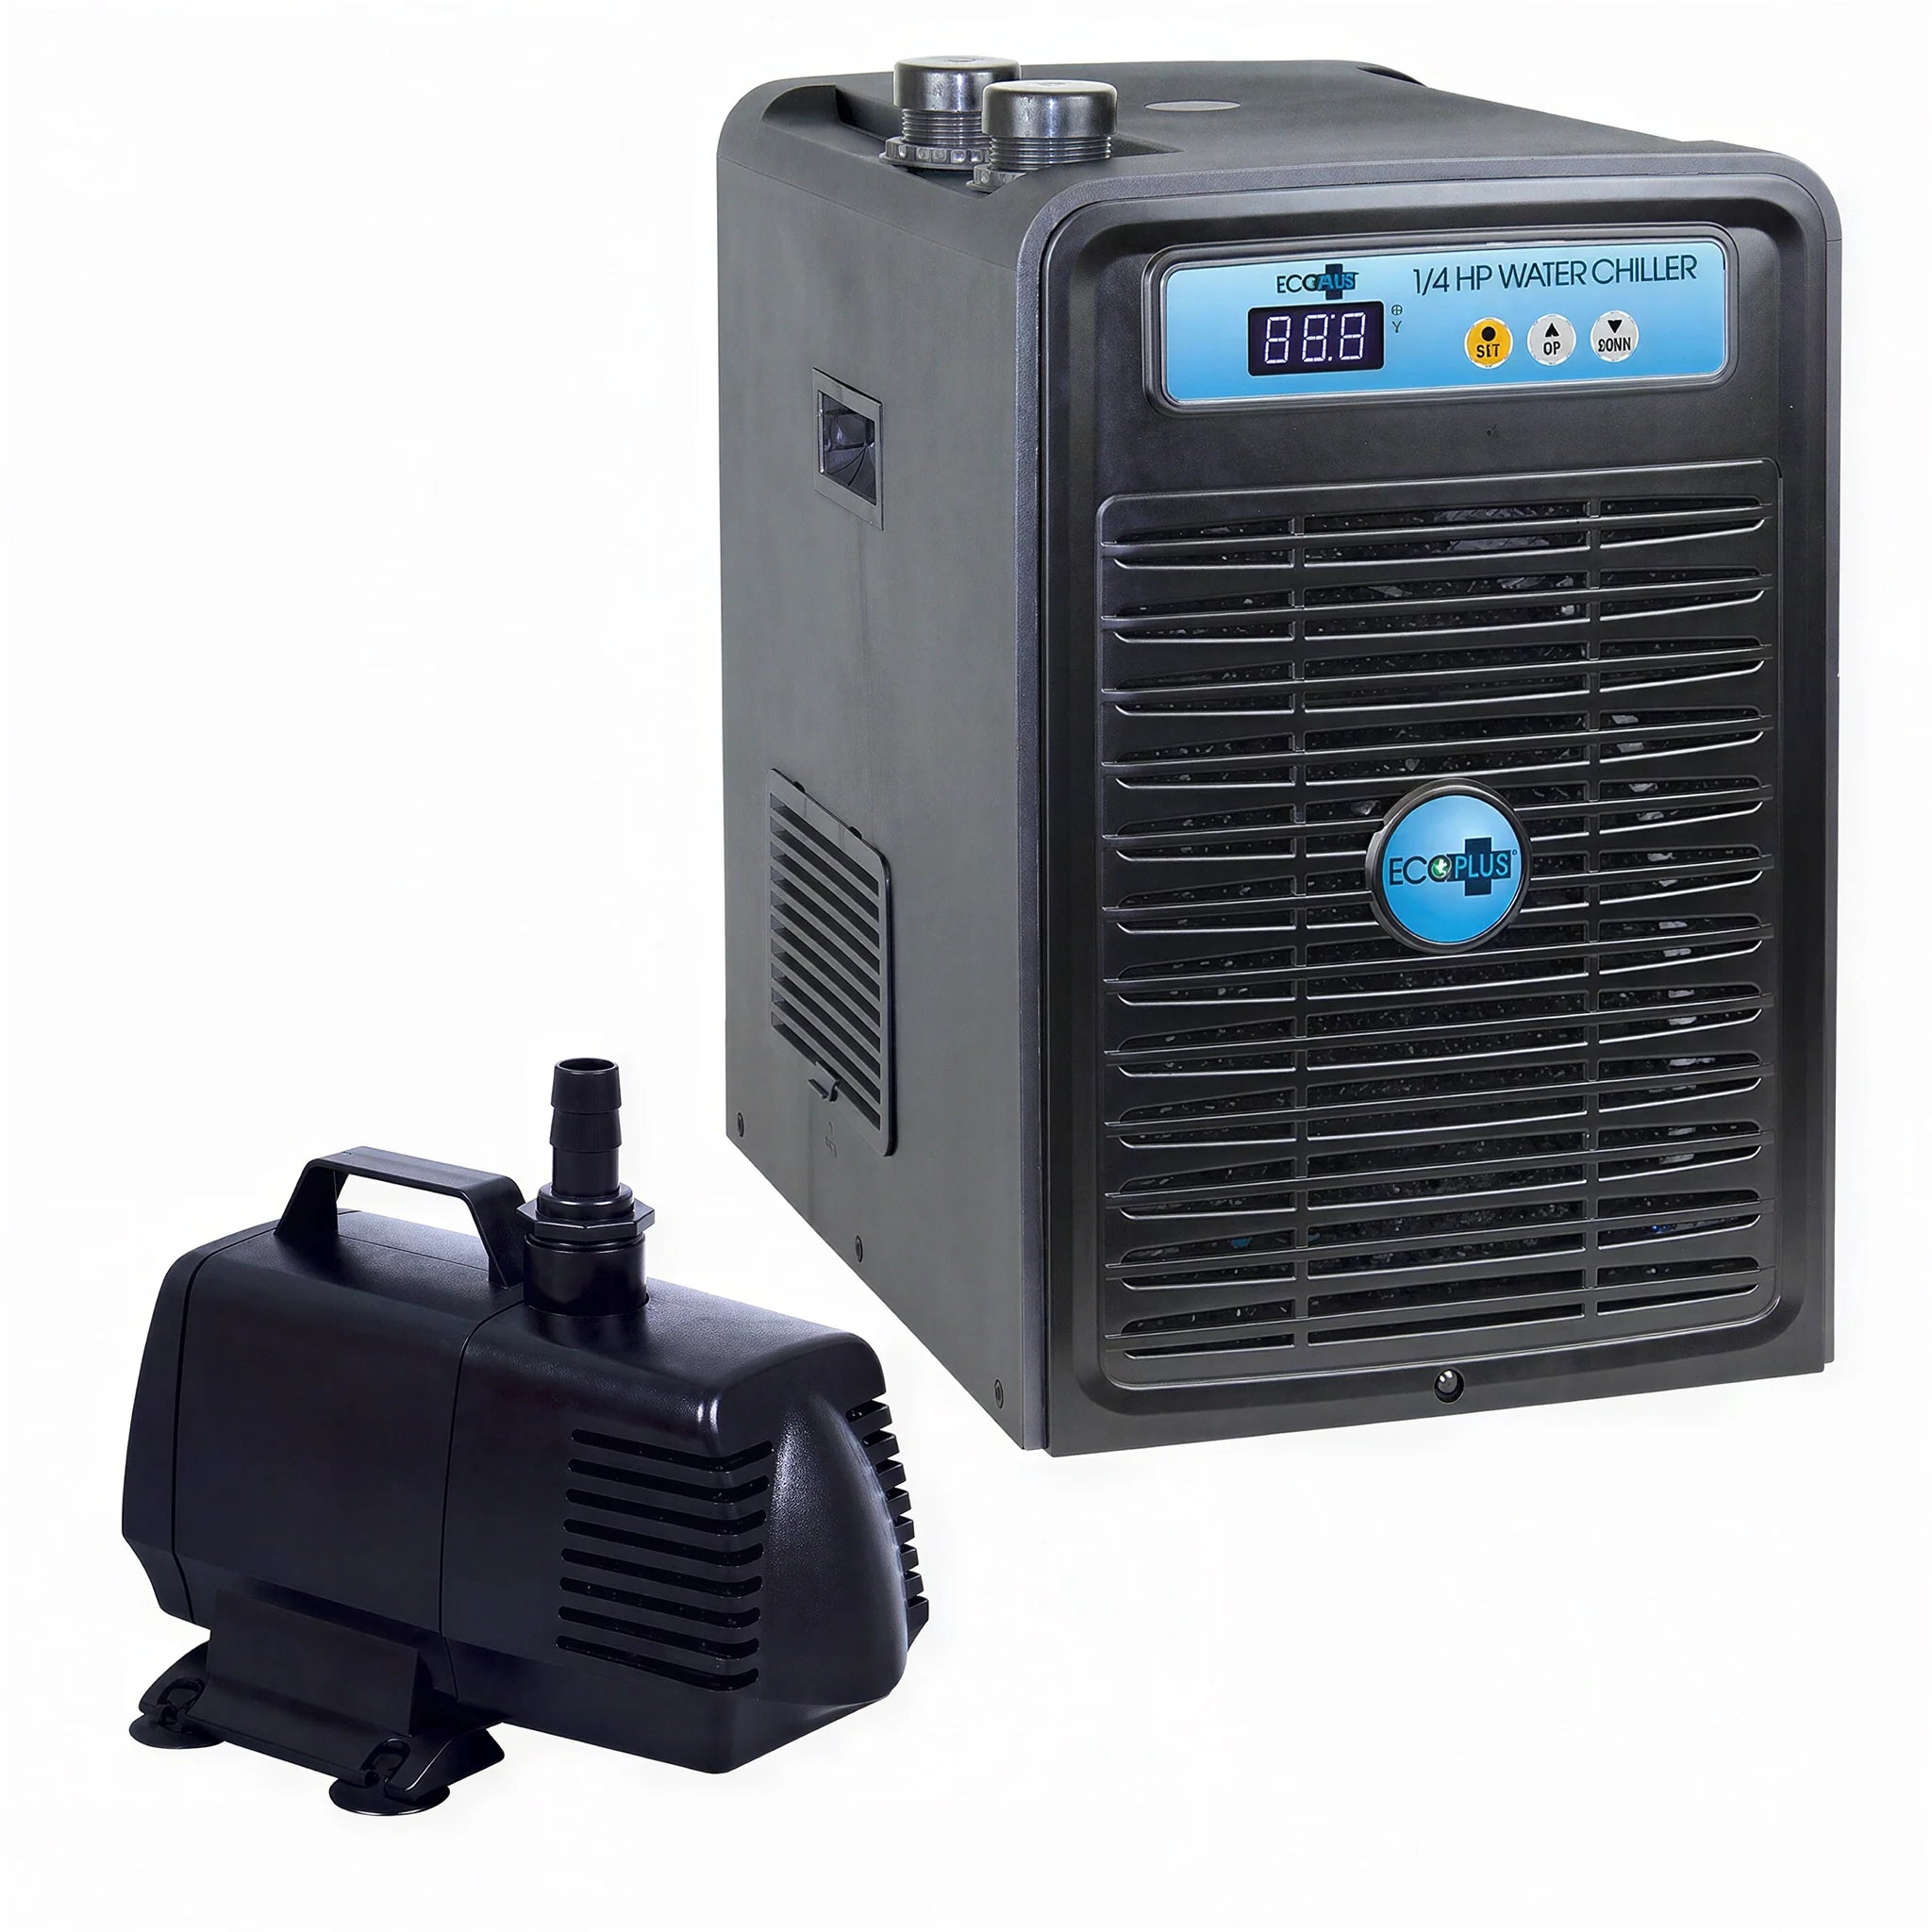
The EcoPlus DIY Cold Plunge Starter Set is exactly what you need to get started on your own creating your very own DIY Cold plunge.
A DIY cold plunge setup can be a great addition to any home or backyard, especially during the hot summer months. A cold plunge is a type of hydrotherapy that involves immersing oneself in very cold water for a short period of time. This can have numerous health benefits, including reducing inflammation, increasing circulation, and improving overall well-being.
There are numerous benefits to taking a cold plunge, which is a form of hydrotherapy that involves immersing oneself in very cold water for a short period of time. Here are some of the potential benefits:
Cold Plunge Benefits
-
Reduced Inflammation: Cold water immersion has been shown to reduce swelling and inflammation in the body.
-
Increased Circulation: The cold water causes blood vessels to constrict, which causes the body to go into "Survival Mode". This stimulates the body to increase blood flow!
-
Improved Recovery: Cold water therapy has been used by athletes to help reduce muscle soreness and speed up recovery by reducing inflammation and improving blood flow.
-
Boosted Immune System: Exposure to cold water can help stimulate the immune system, which can improve your immune system to help fight illness.
-
Stress relief: Cold water immersion can positively affect stress by lowering the body's cortisol levels.
-
Better sleep: Taking a plunge before bed can help lower body temperature. As a result, your body will release melatonin aiding in your sleep.
-
Skin health: Cold water can help close pores and prevent dirt and bacteria from entering the skin. In addition, the cold water will help reduce redness in the skin.
Overall, a cold plunge can have numerous health benefits, both physical and mental. However, it is important to start slowly and gradually build up the amount of time spent in the cold water to avoid any adverse reactions. To help acclimate your body to a cold plunge you can always start with your tank set at 60 Degrees Fahrenheit and work your way down to colder temps and longer durations in your cold plunge. Make sure to use proper breathing techniques while in the cold plunge to keep your heart rate calm. It is important to listen to your body when starting to cold plunge. Seek medical advice if you have any underlying health conditions that may be affected by cold water immersion.
Setting Up Your DIY Cold Plunge
To set up your DIY cold plunge, you will need a few key items. First, you will need a container or Tub to hold the water. This can be a stock tank, a large plastic bin, or even an old hot tub. The size of the container will depend on how many people will be using it at once and the amount of available space you have.
Next, you will need to fill the container with water. You can use a garden hose or a bucket to do this, but make sure the water is very cold. Some people will you ice to help speed up the process of cooling the water. When filling your "Tub" make sure to not fill it to the top as you need to leave space for you to get it. It is safe practice to fill to about 60% of the way, This way you can get in a test your water level. Add or subtract water as needed. Depending on your location you may have hard water, if that is the case a water filter is highly encouraged. Using a filter will keep your water clean and free of any minerals that could clog up or decrease the efficiency of your pump and chiller.
Now that your container is full, it is now time to start chilling your water. For this, you will need to get your chiller and pump set up. How you decide to plumb/mount your chiller and pump is up to you. When setting up your DIY cold plunge kit you will want to start by placing the pump in your pump in your tank. From here you will run tubing from your pump to the inlet port on your chiller. After that is complete you will now need to run tubing from the outlet port on the chiller back to the tub. Now that these are complete your water can start cooling down. Depending on your location, a tank cover may be necessary to keep your water cold.
Using Your DIY Cold Plunge
To use the DIY cold plunge, simply step into the container and submerge your entire body in the cold water. It is important to start with a short period of time, such as 30 seconds to one minute, and gradually increase the duration over time. Make sure to focus on your breathing, your brain will naturally try to trick you into taking short, shallow, fast breaths but instead, you should focus on taking slow consistent breaths. These breathing techniques will help boost lung function and help with oxygen transport throughout the body. It is VERY important to monitor your body's response to the cold water and avoid staying in for too long if you feel uncomfortable or experience any adverse reactions. Seek medical advice if you have any underlying health conditions that may be affected by cold water immersion.
Cleaning Your Cold Plunge
To maintain the cleanliness of your DIY cold plunge, make sure to regularly empty and refill the water. You may also want to add chlorine or other sanitizing agents to the water to kill any bacteria or algae that may grow. Another way to help maintain clean water is to rinse off in the shower before getting in your cold plunge, this will help remove any oils or lotions on the skin that could compromise the cleanliness of your water. As stated in the filling section above, filtering the water when filling your tank can help maintain the cleanliness of your water in your tank giving more longevity before having to drain and refill.
In summary, setting up a DIY cold plunge is a fairly simple and straightforward process. With a few key items and a little bit of effort, you can enjoy the many health benefits of this refreshing and invigorating form of hydrotherapy right in your backyard. Just remember to start slowly and always listen to your body to ensure a safe and enjoyable experience.
DISCLAIMER: This is NOT a complete kit. This is just the chiller and pump. The tub and additional fittings will need to be supplied by the end user.
Included in DIY Cold Plunge Starter Set
DIY Cold Plunge Starter Set Add-Ons
- GrowoniX 420 GPH XL Scrubber Dechlorinator and Sediment Filter System with KDF/CAT Premium Carbon Filter
- Water Tubing
DIY Cold Plunge Starter Set Specs
| SKU |
Recc. Tank Size |
Max Flow Rate |
Cooling Units |
Included Fittings |
| EP-DIY-CP-1/4HP-SK |
100 Gallon |
500 GPH |
2,300 BTU |
1/2" |
| EP-DIY-CP-1/2HP-SK |
170 Gallon |
950 GPH |
4,100 BTU |
3/4" |
| EP-DIY-CP-1HP-SK |
350 Gallons |
950 GPH |
8,8525 BTU |
1" |
| EP-DIY-CP-1.5HP-SK |
350 Gallons |
950 GPH |
11,935 BTU |
1" |